The Appeal of At-Home Cold Water Immersion
Cold water therapy has officially moved out of elite training facilities and into home wellness routines. What was once a secret weapon for athletes is now a mainstream practice for improving muscle recovery and sharpening mental focus. Yet, we all know the feeling of seeing a high-end cold plunge tub online, getting excited about the benefits, and then seeing the price tag. Commercial units often range from $4,000 to $10,000, placing them out of reach for many.
This is where a DIY cold plunge becomes more than just an alternative. It is a smart, practical solution for accessing the same powerful benefits without the significant financial investment. When done correctly, an affordable setup does not mean you have to compromise on effectiveness or safety. It simply means you are trading a bit of your time and effort for thousands of dollars in savings.
This guide will walk you through everything you need to know. We will explore the most popular DIY methods, break down the costs, explain how to manage water temperature, and cover the essential safety protocols to ensure your at-home cold therapy is both effective and secure.
Choosing Your DIY Cold Plunge Method
Before you start buying materials, it is important to choose the right path for your budget, space, and willingness to get your hands dirty. Each DIY approach has its own set of trade-offs. The goal here is not to find the single "best" method, but the one that best fits your specific situation.
The chest freezer cold plunge is a popular choice for its excellent insulation and built-in cooling. Because it is designed to stay cold, it is highly efficient. However, this method requires meticulous waterproofing to prevent leaks and ensure electrical safety, making it a more technical project.
A stock tank cold plunge offers a simpler, more rugged alternative, especially for outdoor setups. These tanks are durable and the assembly is modular. The main challenge is that it relies on an external water chiller to maintain temperature, which can add to the upfront cost. For those exploring various at-home solutions, understanding the distinct benefits of a cold plunge versus other modalities, like those discussed in our comparison of cold plunges and infrared sauna blankets, can help guide your investment.
Finally, for those just starting out, an inflatable tub represents one of the most affordable cold plunge ideas. It has the lowest initial cost and requires minimal setup. The clear drawback is its reliance on a constant supply of ice to keep the water cold, which means recurring effort and expense. Think of it as the entry point for testing the waters before committing to a more permanent solution.
| Method | Estimated Cost (USD) | Key Advantage | Main Challenge |
|---|---|---|---|
| Chest Freezer Conversion | $400 – $800 | Excellent insulation and built-in cooling | Requires meticulous waterproofing and electrical safety |
| Stock Tank Setup | $400 – $700 (plus chiller) | Highly durable and simple modular assembly | Higher upfront cost if including a water chiller |
| Inflatable Tub / Basic Container | $150 – $400 | Lowest initial cost and minimal setup | Requires constant supply of ice to maintain temperature |
The Chest Freezer Conversion Build
For those who are comfortable with a bit of hands-on work, learning how to build a cold plunge from a chest freezer is a rewarding project. This method leverages the freezer's inherent design to create a highly efficient and self-contained unit.
Why a Chest Freezer Works
A chest freezer is essentially an insulated box with a built-in cooling system. This is its core advantage. The insulation is designed to keep cold in and heat out, meaning it will require less energy to maintain your target water temperature compared to an uninsulated container. This efficiency translates to lower long-term operating costs.
The Critical Waterproofing Step
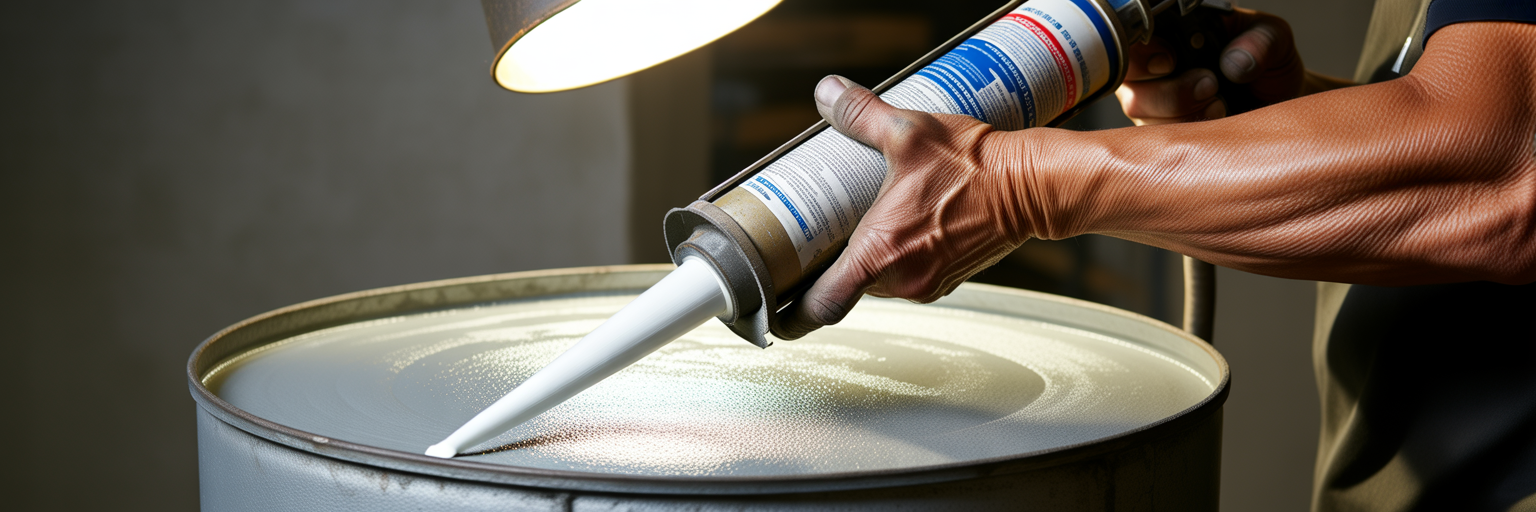
This is the most important part of the entire build. A freezer is designed to hold frozen goods, not water. You must create a completely waterproof barrier to prevent leaks that could damage the freezer and create a serious electrical hazard. The process involves thoroughly cleaning the interior and then applying a generous layer of high-quality, marine-grade waterproof sealant to every seam, corner, and fitting inside the freezer. Do not rush this step. A second or even third coat is often a good idea. Some builders also opt for a flexible pond liner for an extra layer of protection.
Achieving Precise Temperature Control
You cannot simply plug the freezer in and fill it with water. The freezer's thermostat is designed to freeze its contents, which would damage the unit and create a block of ice. The solution is an external digital temperature controller. This device plugs into the wall, and the freezer plugs into it. A probe from the controller goes into the water, allowing you to set a precise temperature. The controller acts as a smart switch, turning the freezer on only when the water temperature rises above your set point and shutting it off once it is cold enough. This keeps the water perfectly chilled without freezing it and prevents the compressor from overworking.
- A new or used chest freezer (7-15 cubic feet is a common size).
- Multiple tubes of a high-quality, marine-grade waterproof sealant (e.g., 3M 5200) or a pond liner.
- An external digital temperature controller.
- Basic tools for cleaning and application (e.g., caulk gun, cleaning supplies).
Assembling a Durable Stock Tank Plunge
If the chest freezer conversion sounds too technical, the stock tank cold plunge offers a rugged and straightforward alternative. These galvanized steel or plastic tanks, commonly found at farm supply stores across the U.S., are built to last and provide a simple foundation for your setup.
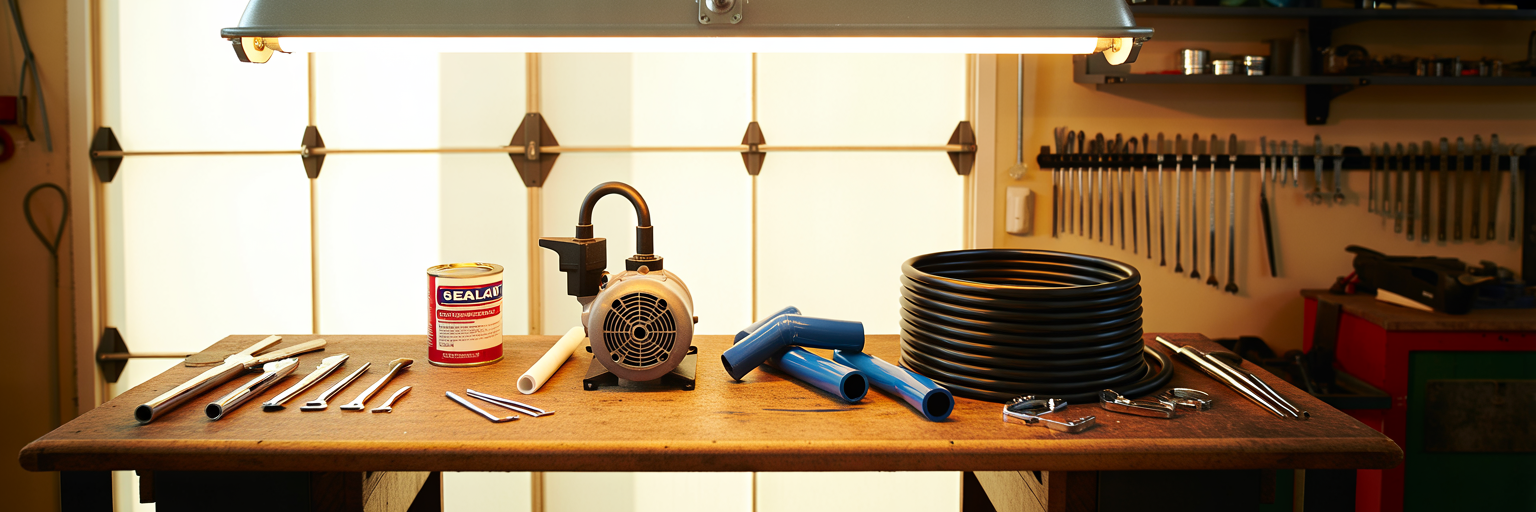
The beauty of this method lies in its modular design. The core components are the tank, an external water chiller, a pump, and some basic tubing. Assembly involves drilling two holes in the tank for an inlet and outlet, installing watertight bulkheads, and connecting the hoses to the pump and chiller. This modularity is a significant advantage. If a component fails or you decide to upgrade your chiller, you can easily swap out the part without rebuilding the entire system.
The water chiller is the heart of this setup and its biggest investment. It is what provides the consistent, "set and forget" temperature control that makes daily plunging effortless. While it adds to the upfront cost, it eliminates the need for ice. This process of selecting components is similar to how people navigate other important life decisions, where clear categorization is essential. For instance, a resource from Trusted Funeral Directors shows how they outline each funeral type to help people make informed choices. Similarly, carefully choosing your chiller and pump ensures your DIY setup functions as well as many commercial cold plunge tubs.
Techniques for Regulating Water Temperature

Maintaining the right water temperature is what makes cold therapy effective. The goal is to consistently keep your water in the therapeutic range of 39-55°F (or 4-13°C). How you achieve this depends entirely on your chosen build.
For a chest freezer conversion, the external temperature controller is your command center. You will program it with a target temperature and a differential. For example, you might set it to turn the freezer on when the water hits 50°F and turn it off at 48°F. This small range prevents the compressor from cycling on and off too frequently, which can extend its life.
With a stock tank setup, the chiller unit itself handles temperature regulation. The key here is to choose a chiller that is properly sized for your water volume and local climate. A chiller that is too small will struggle to keep the water cold on hot days, while an oversized one is an unnecessary expense.
For basic, non-chilled setups like an inflatable tub or a simple homemade ice bath, you are in a constant battle with melting ice. To make your efforts more effective, use large blocks of ice or frozen two-liter bottles, as they melt much slower than small cubes. Placing your tub in a shaded area and using an insulated cover between sessions will also help preserve the cold.
Critical Safety Protocols for Your DIY Setup
Let's be perfectly clear: when you mix water and electricity, safety is not a suggestion, it is a requirement. Building a DIY cold plunge comes with a personal responsibility to understand and respect the potential risks. Your well-being depends on it.
Electrical safety is the absolute top priority. The following rules are non-negotiable.
- Use a Ground Fault Circuit Interrupter (GFCI) outlet. This is the most critical safety device. A GFCI outlet is designed to instantly cut power if it detects any imbalance in the electrical current, such as electricity flowing through water. It is a life-saving device that must be used for any cold plunge setup involving electrical components.
- ALWAYS unplug the freezer or chiller before getting in the water. There are no exceptions to this rule. Ever. Even with a GFCI in place, you must make it a habit to physically disconnect the power source before you enter the tub.
- Ensure a stable and level surface. Your tub will be extremely heavy when filled with water and a person. Place it on a solid, level foundation to prevent tipping. Regularly inspect all wiring and connections for any signs of wear or damage.
Prioritizing safety is a cornerstone of any wellness practice, a principle we explore across all recovery topics on our blog.
Water Sanitation and Long-Term Maintenance
Once your DIY cold plunge is built, the work is not quite done. Clean water is essential for your health and the longevity of your equipment. A simple maintenance routine will keep your homemade ice bath safe and ready for use.
For more advanced setups like a chest freezer or stock tank, an inline canister filter is a great addition. It will circulate the water and remove small debris like hair and skin cells, keeping the water clearer for longer. After filtration, you need a sanitation method to prevent bacterial growth. You have several options, including using small, controlled amounts of chlorine or bromine, food-grade hydrogen peroxide, or installing an ozone generator, which uses ozone gas to purify the water.
Establishing a consistent schedule is the key to long-term success. It takes the guesswork out of maintenance and ensures nothing gets overlooked.
- Weekly: Test your water chemistry and add sanitizer as needed to maintain clean water.
- Monthly: Clean the water filter (if you have one) to ensure it is working efficiently.
- Every 1-3 Months: Perform a complete water change. Drain the tub, give the interior a thorough cleaning, and refill with fresh water.
Is a DIY Cold Plunge the Right Choice for You?
After exploring the methods, costs, and responsibilities, it is time for a moment of honest self-reflection. Is a DIY cold plunge the right path for you? The primary benefit is clear: you can achieve the profound effects of cold water immersion for a fraction of the cost of a commercial unit, often saving 80-95%.
However, this savings comes with a trade-off. It requires your time, a willingness to do hands-on work, and an unwavering commitment to safety and maintenance. This path is ideal for the individual who enjoys a good project and is prepared to take full ownership of their setup. Have you considered your comfort level with basic plumbing and electrical safety? Do you have the space and time for the build and ongoing upkeep?
There is no right or wrong answer. A DIY project can be an incredibly empowering way to take control of your health. If a hands-on project is not the right fit for you right now, you can explore other paths to recovery by seeing how we approach wellness on our start here page. Ultimately, the goal is to find a sustainable practice that enhances your well-being.