Understanding Cold Water Immersion
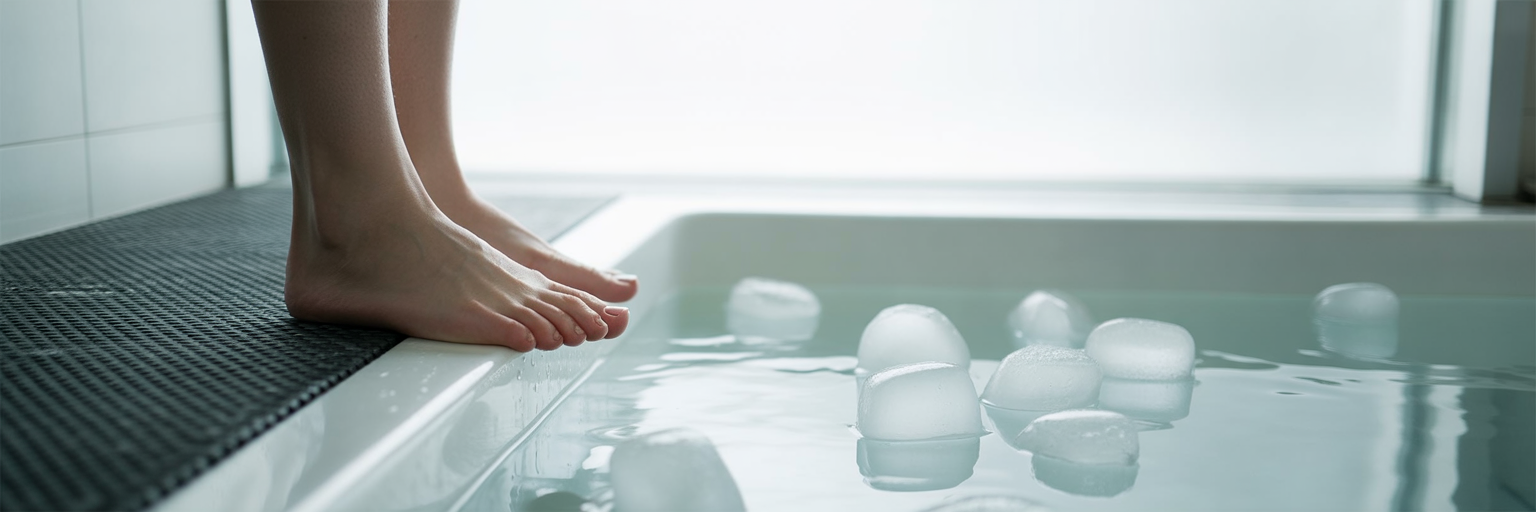
For decades, cold water immersion was a practice reserved for elite athletes seeking a competitive edge. Today, it has become a recognized wellness tool for anyone looking to improve their physical and mental resilience. Cold plunge therapy is the intentional, full-body immersion in water at or below 59°F (15°C). This is fundamentally different from a cold shower. While a shower provides localized cold exposure, full immersion triggers a powerful, systemic response throughout the body’s nervous and circulatory systems.
The core benefits of cold water immersion are rooted in this physiological shift. The cold causes blood vessels to constrict, which can help reduce inflammation and muscle soreness. Simultaneously, the body releases a rush of norepinephrine, a hormone and neurotransmitter that can sharpen focus and elevate mood. With the growing availability of at-home equipment like our range of cold plunge tubs, this practice is more accessible than ever. However, it is not a quick fix. True benefits come from a consistent and safe approach, treating it as a powerful tool for well-being rather than a one-time challenge.
The Science of an Effective Plunge
Moving from the 'what' to the 'how' requires understanding the parameters that make a plunge effective. The scientifically recognized therapeutic window for water temperature is between 39°F and 59°F (4°C and 15°C). This is the sweet spot where the body’s adaptive responses are triggered without posing unnecessary risk. For anyone just starting, aiming for the higher end of this range, around 50-59°F (10-15°C), is a wise strategy. This allows your body to acclimate gradually, making the experience more manageable and sustainable.
The question then becomes, how much is enough? Research from experts like Dr. Susanna Søberg suggests a "minimum effective dose" of approximately 11 minutes of total cold exposure per week, broken into two to four sessions. This makes the practice feel far more achievable than the idea of daily, lengthy plunges. It highlights a crucial principle: consistency is more important than intensity. You do not need to endure extreme temperatures or long durations to see results. In fact, sessions longer than 10 minutes often yield diminishing returns while increasing the risk of adverse effects like hypothermia. The goal is to find a safe cold plunge temperature and duration that you can integrate into a regular routine, not to push your body to its absolute limit.
Beginner Progression Framework for Cold Plunging
| Phase | Recommended Temperature | Duration per Session | Weekly Goal |
|---|---|---|---|
| Weeks 1-2 (Acclimation) | 50-59°F (10-15°C) | 1-3 minutes | 2-3 sessions/week |
| Weeks 3-4 (Building Duration) | 45-55°F (7-13°C) | 3-5 minutes | 3 sessions/week |
| Week 5+ (Optimization) | 39-50°F (4-10°C) | 3-6 minutes | 11+ minutes total/week |
Note: This table provides a sample progression. Always prioritize listening to your body over adhering strictly to these numbers. The goal is gradual adaptation, not pushing to the point of excessive discomfort.
Preparing for Your First Session
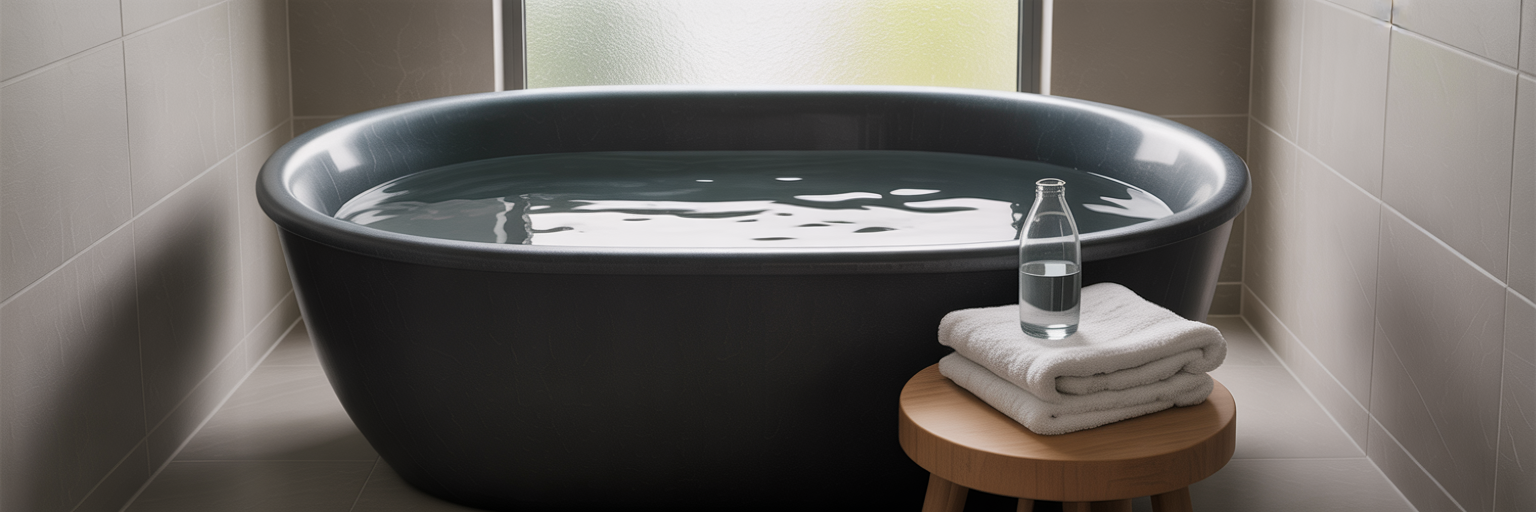
Proper preparation can transform your first cold plunge from an intimidating shock to a controlled and empowering experience. These at-home cold plunge tips focus on setting yourself up for success. First, hydration is key. Cold exposure can trigger "cold-induced diuresis," a process where your body increases urine production. It also tends to suppress the sensation of thirst, so drinking water beforehand is essential to stay properly hydrated.
Next, create a safe and comfortable environment. Have a warm towel and a robe within arm's reach for when you get out. Place a non-slip mat beside your tub to prevent falls. Using a simple setup like The Ice Pod makes this process straightforward. Also, keep a timer visible so you can track your session without guessing. The mental aspect is just as important. The initial cold shock is intense, but you can manage it. Practicing a few minutes of slow, calming breathwork, like box breathing, can help prepare your nervous system for the challenge ahead. Below is a simple checklist to run through before every session.
- Hydrate with approximately 500mL of water 30 minutes before your session.
- Prepare your space: Lay out a non-slip mat, a warm towel, and dry clothes or a robe.
- Set a timer where you can see it to track your duration accurately.
- Perform 2-3 minutes of slow, controlled breathing to calm your mind and body.
- Set a clear, achievable intention for your first session, such as staying in for just one minute. ol>
- Individuals with pre-existing cardiovascular conditions (e.g., heart disease, arrhythmias).
- Those with uncontrolled high blood pressure.
- People with conditions sensitive to cold, such as Raynaud's syndrome or cold urticaria.
- Pregnant individuals.
A Step-by-Step Guide to the Plunge
When you are ready to begin, the most important rule for how to start cold plunging is to enter the water slowly and deliberately. Never jump or dive in. A sudden entry can trigger an involuntary gasp reflex, which is dangerous if your head goes underwater. Instead, step in calmly and lower yourself into the water with control. Your body will immediately react with a cold shock response, characterized by a rapid heart rate and a strong urge to hyperventilate. This is normal, but your job is to override it.
For the first one to two minutes, focus entirely on your breath. Concentrate on taking long, slow exhales. This simple action activates your parasympathetic nervous system, which helps counteract the body's fight-or-flight panic response and brings a sense of calm. Once the initial shock subsides, you will find the experience becomes more manageable. For your first few sessions, consider keeping your hands and feet out of the water, as these extremities are highly sensitive to cold and can make the plunge feel more intense. Most importantly, listen to your body. Shivering is a normal response, but if it becomes uncontrollable or you feel dizzy or lightheaded, it is time to get out. This is not a test of endurance.
Post-Plunge Recovery and Best Practices

What you do after the plunge is just as important as the immersion itself. The primary goal is to rewarm your body safely and gradually. The best practice for what to do after cold plunge is to prioritize passive rewarming. As soon as you get out, dry yourself off thoroughly and put on warm, dry layers of clothing. A warm hat and socks can be particularly helpful. Allow your body to generate its own heat, perhaps aided by some light movement like walking around. This process teaches your body to become more efficient at thermoregulation over time.
One critical point: avoid jumping into a hot shower immediately. The rapid shift from cold to hot causes vasodilation, where your blood vessels expand quickly. This can lead to a sudden drop in blood pressure, causing dizziness or even fainting. Give your body at least 10 to 20 minutes to begin rewarming naturally before considering a warm shower. The timing of your plunge also matters, especially in relation to exercise. If your goal is muscle growth (hypertrophy), plunging right after a resistance workout can blunt the inflammatory response needed for muscle repair. It is better to wait at least four to six hours or plunge on rest days. For endurance training or general soreness, however, a post-workout plunge can be beneficial. Understanding these nuances helps you decide, for example, whether a cold plunge or an infrared sauna blanket is the right tool for that moment.
Key Safety Considerations
While the benefits are significant, approaching cold plunge therapy for beginners requires a clear understanding of the safety protocols. The primary physiological risks are manageable when you are informed. The "gasp reflex," an involuntary inhalation triggered by sudden cold, is why keeping your head above water is a non-negotiable rule. The cold also causes a rapid increase in heart rate and blood pressure, which can put stress on the cardiovascular system. Understanding all potential stressors on the heart is important, and as highlighted in some health studies, even unrelated factors can be relevant to overall cardiac wellness.
Because of these risks, certain individuals must consult a doctor before attempting a cold plunge. This is not a step to be skipped. For your first few sessions, it is also wise to have someone nearby. The ultimate rule is to always listen to your body. Feeling uncomfortable is part of the process, but feeling unwell is a clear signal to stop. Ending a session early is always the right decision if something feels off.
Building a Consistent and Progressive Routine
Long-term success with cold plunging comes from building a sustainable habit, not from chasing extreme challenges. Once you become comfortable with your initial temperature and duration, you can begin to progress. The safest way to do this is to change only one variable at a time. Either increase your duration in 30-second increments or lower the water temperature by a degree or two, but never do both in the same session. This methodical approach prevents you from overstressing your system and allows for steady adaptation.
Consider keeping a simple journal to track your progress. Note the date, water temperature, duration, and a few words about how you felt during and after. This data becomes a powerful tool, helping you recognize patterns and see how far you have come. On days when motivation is low, remember that something is better than nothing. A shorter or slightly warmer session is far better for habit formation than skipping it entirely. Ultimately, view cold plunging as one component of a holistic wellness routine that also includes proper nutrition, exercise, and sleep. It is a powerful practice that, when integrated thoughtfully, supports a resilient and healthy lifestyle. For more ideas on building a complete recovery plan, you can explore the insights we share on our blog.